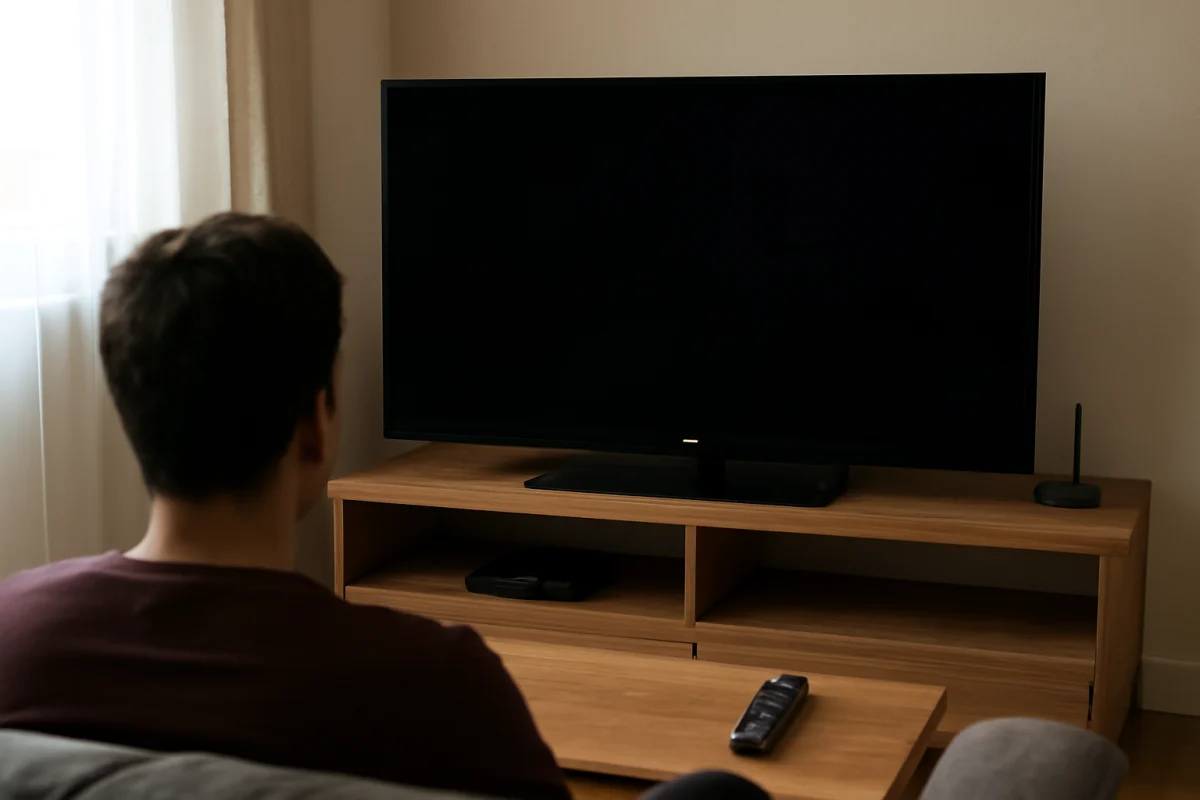
If your Sony TV screen is too dark, first check whether the problem affects every input or only one app, channel, or connected device. A dark picture is often caused by a picture mode, automatic brightness feature, ambient-light setting, or a weak source signal rather than a failed screen.
Start with the simple checks below before resetting the TV or changing advanced settings. Menu names and available options vary by Sony TV model, software version, and region, so use the closest matching option on your screen.
1. Check whether the whole TV or one source is dark
Press the Home button and look at the TV's own menus. If the Home screen and settings menus also appear unusually dim, the issue is probably related to the TV's picture settings, power-saving behavior, light sensor, or hardware.
If the menus look normal but a movie, live channel, or game is dark, the problem may be limited to that input or app. Try another source, such as a different HDMI device or a built-in streaming app. This quick comparison can prevent you from changing settings that are not responsible.
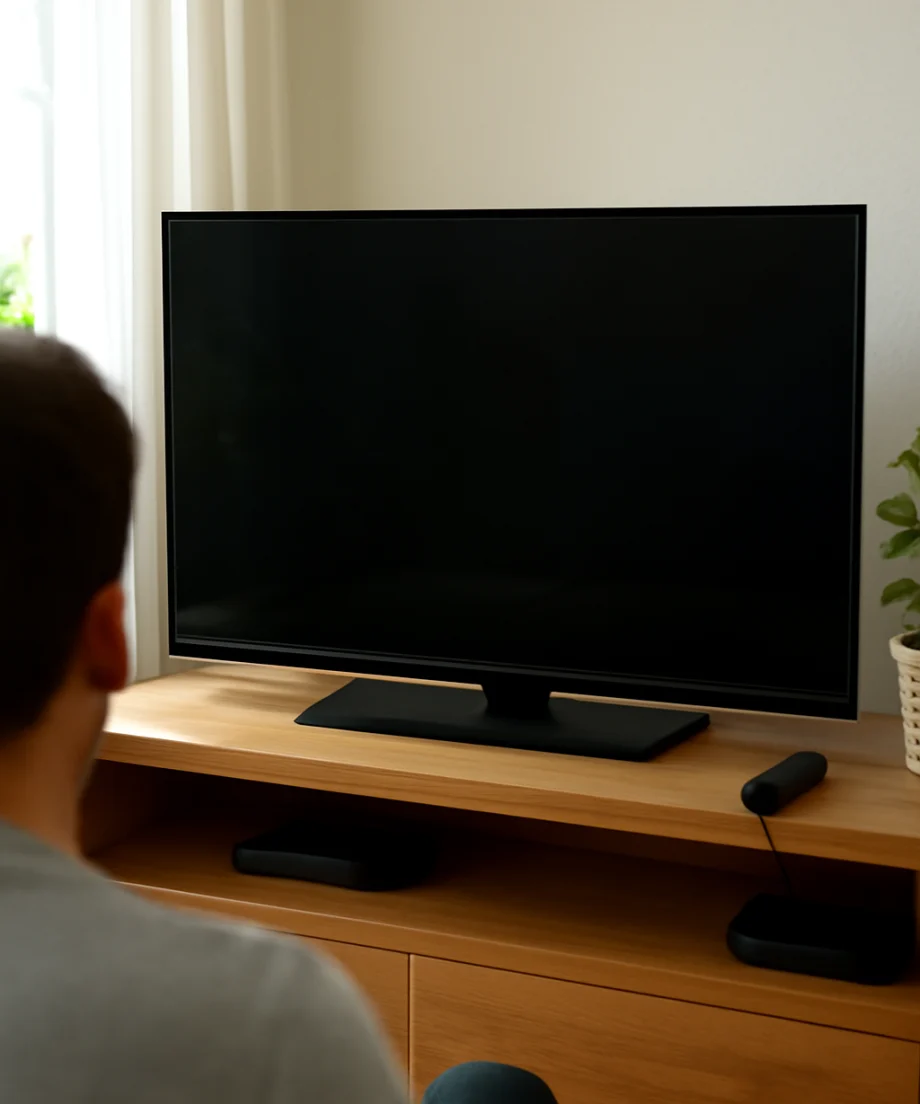
Also check whether the issue affects only certain scenes. Some movies and shows intentionally use very dark lighting, and HDR content can look different from standard dynamic range content. Compare the same scene with another title or video before deciding that the TV is malfunctioning.
2. Turn off power-saving and light-sensor features
Power-saving features can reduce the backlight to lower energy use. A light sensor may also adjust brightness based on the room, which can make the screen seem too dark in a dim or changing environment.
Open the TV's picture or system settings and look for options related to energy saving, automatic brightness, ambient light, light sensing, or an automatically adjusted picture. Temporarily disable those features, then check the same content again. The exact labels and locations differ between Sony series, so do not worry if your menu does not use the same wording.
If the picture becomes brighter after this change, you have identified the cause. You can leave the feature off or use a less aggressive setting if your model offers one. Keep in mind that disabling energy-saving functions may increase power use.
3. Choose a brighter picture mode
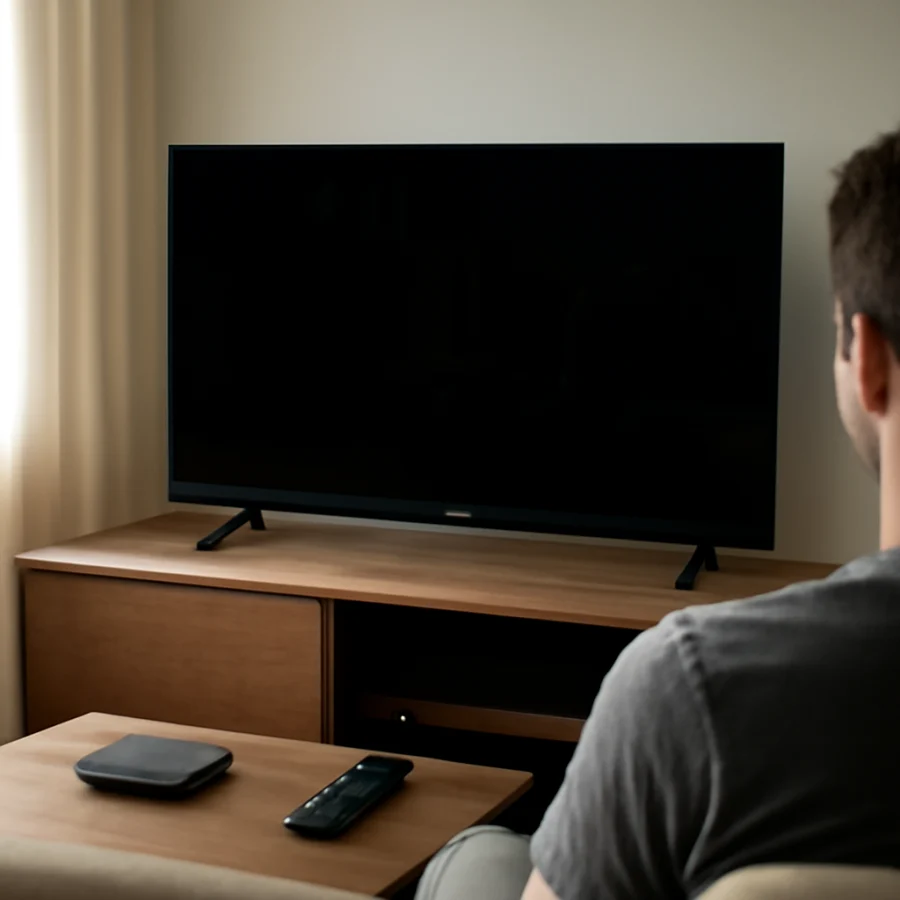
Sony TVs commonly provide several picture presets. A cinema- or filmmaker-oriented mode may intentionally look dimmer and warmer than a standard or vivid mode. Those presets are often designed for controlled rooms and accurate viewing, not maximum brightness in a sunny living room.
In picture settings, try a standard or normal mode first. If the screen is still too dark, compare it with a brighter preset briefly. Avoid leaving the most intense mode enabled automatically if it causes harsh colors, crushed shadow detail, or eye strain.
Picture settings may be stored separately for each input, app, and signal type. For example, the TV may use one preset for an HDMI game console and another for built-in streaming. If only one source is dark, change the settings while that source is selected.
4. Adjust brightness and backlight controls carefully
On many TVs, “brightness” controls the visibility of dark tones, while a separate backlight, panel brightness, or luminance control affects the overall light output. Increasing the wrong control can make black areas look gray without making the image look properly brighter.
Make small adjustments rather than moving every slider to the maximum. Raise the backlight or overall panel brightness gradually, then use a dark scene to check whether you can see detail in shadows. If increasing the regular brightness makes the image washed out, return it to its previous level and adjust the control responsible for overall light output instead.
Do not assume that one setting is correct for every room. A comfortable level in a dark bedroom may be too dim in daylight, while a setting that looks good during the day may be unnecessarily bright at night.
5. Check HDR, Dolby Vision, and contrast settings
High dynamic range content can appear darker than expected when the TV, streaming app, or external player handles the signal differently. This does not automatically mean that HDR is broken. The result can depend on the title, app, HDMI device, picture mode, and the TV's current signal settings.
Test the TV with ordinary non-HDR content. If standard content looks normal but HDR titles are consistently too dark, check the picture settings while HDR content is playing. Some models show different controls or picture modes for HDR and Dolby Vision, so changing settings while viewing ordinary content may not affect the HDR picture.
If you use a streaming stick, cable box, game console, or Blu-ray player, review its video output settings as well. A mismatch in dynamic range or resolution settings can affect the appearance of the image. Use the device's recommended automatic video setting when available, then test again.
6. Inspect the room and the TV screen
Strong daylight, lamps, and reflections can make a correctly lit image appear darker. Stand directly in front of the screen and turn off nearby lights temporarily. Clean fingerprints and dust from the panel using the method recommended for your TV; do not spray liquid directly onto the display.
Check whether a protective film, decorative cover, or soundbar placement is blocking part of the screen or its light sensor. A cover placed over a sensor can cause the TV to react as though the room is brighter or darker than it really is.
Viewing angle can also matter, especially on LCD-based displays. Move to the center of the screen and compare the picture from different positions. If the image becomes much darker from one side, that may be a panel viewing-angle characteristic rather than a setting problem.
7. Test the HDMI cable and connected device
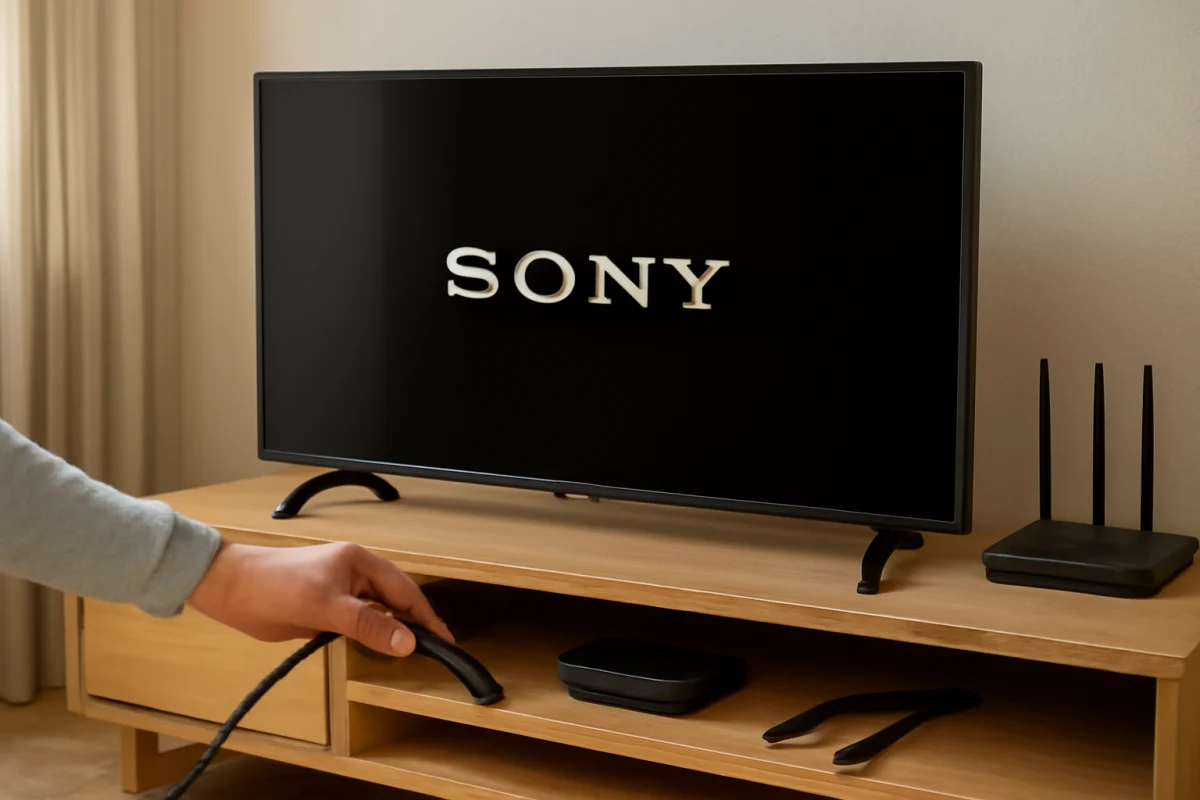
If the dark picture occurs only with an HDMI source, switch to another HDMI input if practical. Disconnect and reconnect the cable firmly at both ends, making sure the connectors are not loose. If you have a known-good compatible cable, test it temporarily.
Restart the external device completely, not just the TV. A cable box, console, or streaming player can occasionally send an incorrect or unexpected video signal after waking from standby. Check the device's picture, HDR, and range settings, but change one item at a time so you can identify what helped.
Try the same HDMI device on another display if possible. Conversely, connect a different device to the Sony TV. These comparisons help separate a TV problem from a source-device or cable problem.
8. Restart the TV without resetting everything
A normal restart can clear a temporary picture-processing issue without deleting your apps or custom settings. Turn off the TV, unplug it from power, wait briefly, and plug it back in. Then turn it on and test several sources.
If your TV has a software restart option, you can use that instead. The wording varies by model. A restart is different from a factory reset: it should not normally erase your settings, while a factory reset returns the TV to its initial setup state.
9. Check for software updates
TV software updates can correct compatibility and picture-processing problems, although an update is not guaranteed to fix a dim screen. Open the TV's support or system software area and check for an available update using the method provided for your model.
Keep the TV connected to reliable power and do not unplug it during an update. If the TV is offline, consult the support information for the exact model before attempting any manual update. Do not install firmware intended for a different model.
10. Know when the problem may be hardware
A hardware fault becomes more likely when the screen remains dark across the Home menu, every input, and built-in apps, even after you disable automatic dimming and adjust the picture mode. Other warning signs include a picture that briefly appears and then fades, uneven dark areas, flashing brightness, a section of the screen that is much darker than the rest, or sound with little or no visible image.
On an LED-backlit LCD TV, failed or weakening backlights can make the picture very dim while audio continues normally. You may still see a faint image when shining a flashlight at the screen, but avoid pressing on the panel or opening the TV to inspect it. Internal components can retain dangerous electrical charge, and opening the set may create additional damage.
OLED televisions use a different display technology, so their symptoms and repair considerations are not identical to those of LED-backlit models. If the screen has physical damage, a persistent dark patch, or signs of liquid exposure, stop troubleshooting and arrange professional inspection.
Should you factory-reset a Sony TV with a dark screen?
A factory reset should be a later step, not the first one. It removes personal settings, network information, installed apps, and other setup data, and it may not solve a failed backlight or damaged panel. Before using it, record your important picture and network settings and make sure you know the passwords needed to set the TV up again.
If the problem began immediately after changing picture settings and you cannot identify which setting caused it, restoring picture settings to their defaults may be safer than resetting the entire TV. The available reset choices vary by model, so read the on-screen description carefully.
When to contact Sony or a repair professional
Contact Sony support or a qualified repair technician if the screen is dark in all menus and sources, the brightness changes by itself, the TV shows a persistent half-screen or patchy picture, or the problem returns after a restart. Have the exact model information available, along with a description of which sources you tested and which settings you changed.
If the TV is still covered by a retailer or manufacturer service arrangement, check the applicable support terms before paying for a repair. Do not remove the back cover or attempt a backlight replacement unless you have the proper training and equipment.
For more TV troubleshooting guides, visit TV Fix Guide's Sony TV section. You can also browse our picture and sound troubleshooting guides for related display problems.
Comments
0No comments yet. Be the first to share a helpful note or question.
Leave a Comment
Your email address will not be published. Comments are reviewed before appearing on the site.