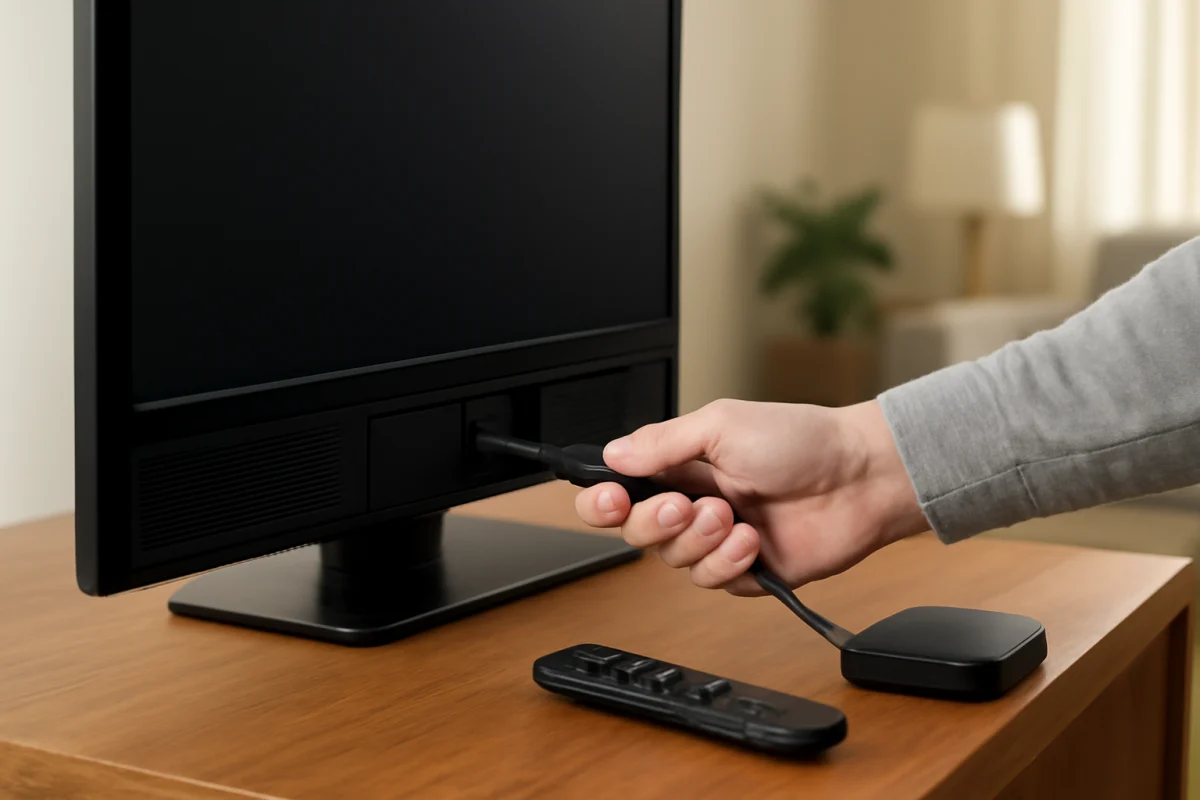
If your Sony TV shows “No Signal” after you select an HDMI input, first confirm that the connected device is powered on, awake, and connected to the input you selected. Then reseat both ends of the HDMI cable and try another HDMI port. These simple checks solve many signal problems without changing picture settings or resetting the TV.
The message does not always mean the Sony TV is defective. It means the TV is not receiving a usable video signal from the selected HDMI source. The source could be a cable box, game console, Blu-ray player, streaming stick, computer, or another receiver. Work through the steps below in order so you can identify whether the problem is the TV, the cable, the HDMI port, or the connected device.
Check the selected HDMI input and source device
Press the Input or Source button on the Sony remote and select the HDMI input where the device is connected. The names and layout can vary by Sony TV model, so use the input list shown on your screen rather than relying on a particular menu name.
Next, make sure the external device is actually on. A console or disc player may be in standby mode, while a cable box or receiver may need additional time to start. Look for a power light, an image on the device’s own display, or another sign that it has finished waking up.
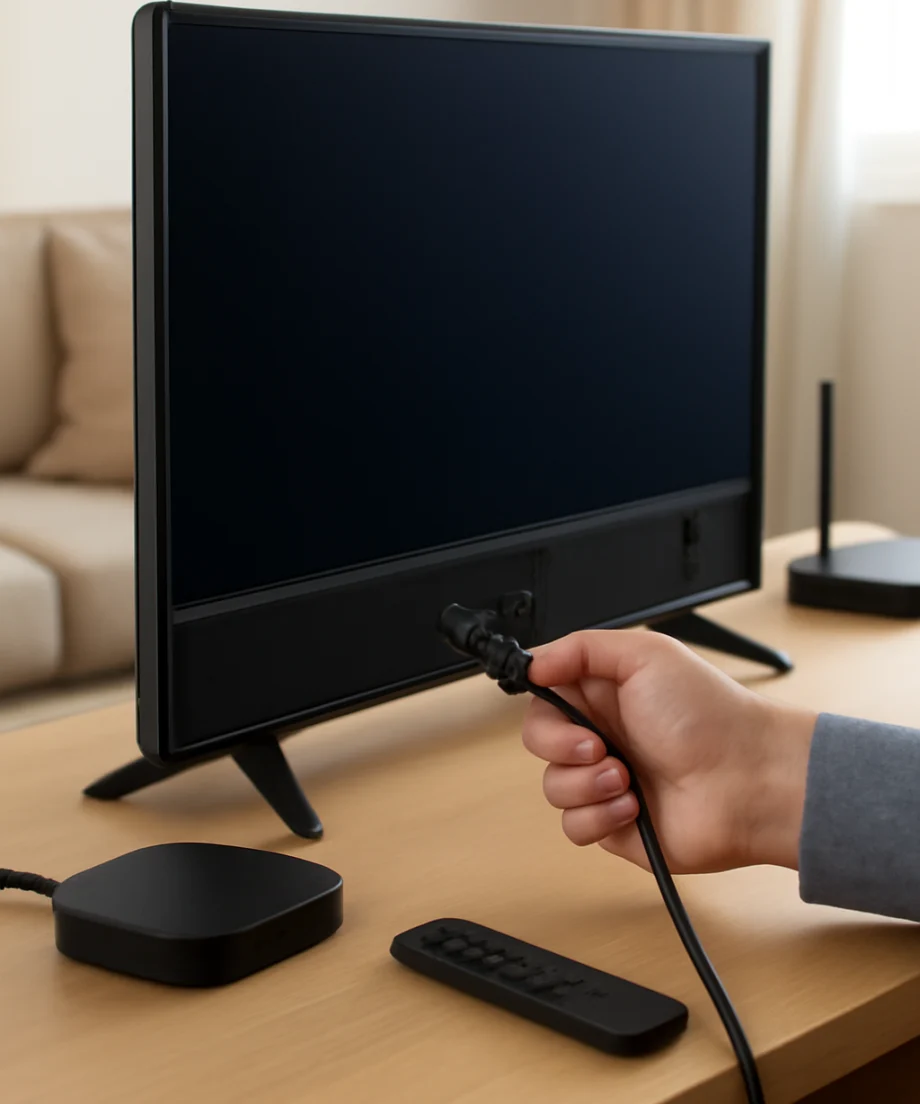
If the device has a separate remote, press its power button and try opening a menu or changing a channel. A black screen can look like an HDMI failure when the source is simply paused, asleep, or set to output nothing. For a laptop or desktop computer, confirm that the computer detects the TV and is set to extend or mirror the display.
Reconnect the HDMI cable carefully
Turn off the source device before reconnecting the cable. Remove the HDMI cable from the source and from the Sony TV, then plug both ends back in firmly. The connector should sit straight and fully inside the port. Avoid forcing it, twisting it, or putting sideways pressure on the TV’s HDMI socket.
Inspect the cable and connectors while they are unplugged. Look for bent metal, a loose connector, visible damage, or a cable that has been sharply folded behind the TV. If the cable is unusually thin, damaged, or difficult to keep connected, replace it with another known-good HDMI cable. Do not assume that an expensive cable is required; the important test is whether a different, compatible cable restores the picture.
Keep the cable away from places where the TV or furniture can pull on it. A partially loosened connector may work intermittently, especially when the TV or connected device is moved.
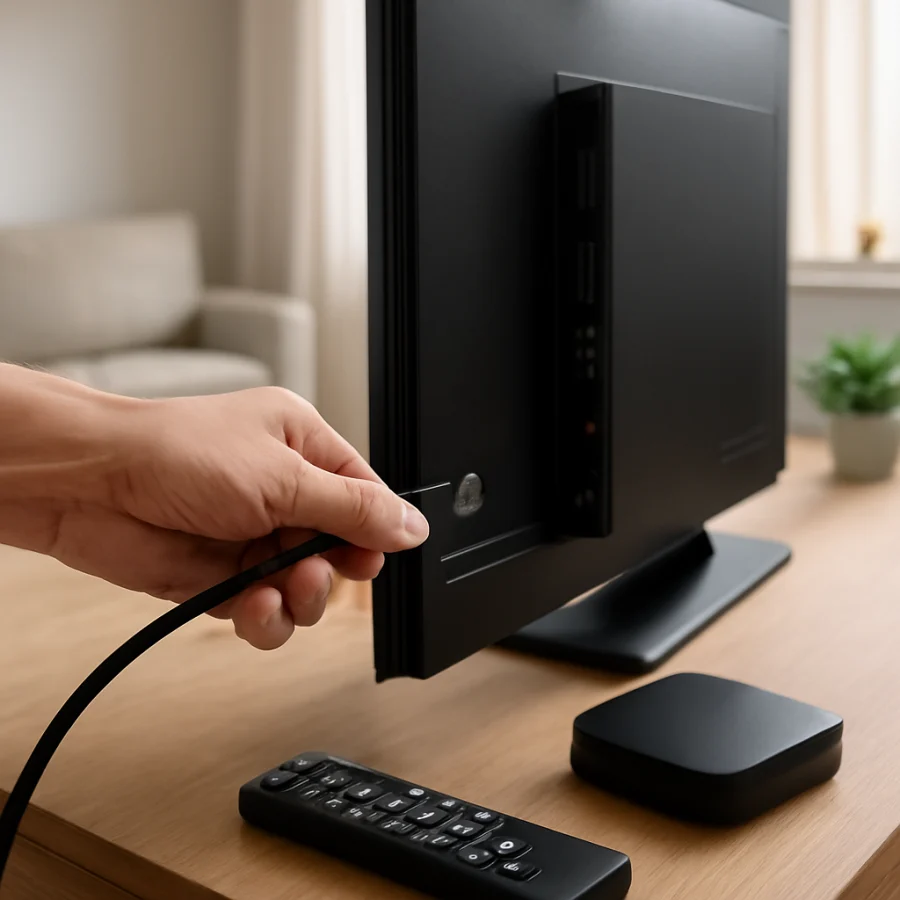
Try another HDMI port on the Sony TV
Move the same source device and the same cable to a different HDMI port on the TV. Select that new input and wait briefly for the source to appear. If the picture works on the second port, the original port may be damaged, obstructed, or unable to communicate correctly with that device.
If none of the ports work with this source, test one HDMI port with a different device if possible. For example, you could test a game console in the port where a streaming device was connected. This comparison helps separate a source-device problem from a TV problem:
- If one device works but another does not, the problem is more likely related to the device, its settings, or its cable.
- If the same device works in one TV port but not another, the unused or failing port is the likely cause.
- If multiple known-good devices fail on every HDMI port, continue with the power-cycle and compatibility checks below.
Power-cycle the TV and connected device
A complete restart can clear a temporary HDMI communication problem. Turn off the external device and the Sony TV. Unplug both from the wall, if practical, and wait at least a minute. While the TV is unplugged, press its physical power button once if the model has one. This can help discharge residual power, but it is not a factory reset.
Reconnect the TV and source device, then turn on the TV first. Select the correct HDMI input and wait for the home screen or picture from the source. After the TV is ready, turn on the connected device. If you use an AV receiver, soundbar, HDMI switch, splitter, or capture device between the source and TV, restart that equipment as well.
For testing, connect the source directly to the Sony TV. Extra HDMI equipment can introduce another cable, power supply, input selection, or signal-format setting into the chain. If the direct connection works, reconnect the intermediate device later and check its inputs and output.
Check for HDMI switches, receivers, and soundbars
If the source passes through an AV receiver or HDMI switch, verify that the switch is set to the correct input and that its output is connected to the TV. Some equipment has its own remote or front-panel controls, so selecting the TV’s HDMI input alone may not select the source.
Temporarily remove the switch or receiver from the setup. Connect the source directly to the TV with one HDMI cable. This is one of the most useful tests because it reveals whether the “No Signal” message is caused by the TV or by a device in the middle.
If a soundbar is connected through HDMI, test the picture with the source connected directly to the TV. A soundbar may not pass every video signal or may need to be powered on before it can pass HDMI video. The exact behavior depends on the model and connection type.
Consider resolution and compatibility settings
A source can send a video format that the TV, receiver, switch, or cable chain does not handle correctly. This can happen after changing a console’s display settings, connecting a computer, or moving a device from one TV to another.
If the source works on another display, open its video or display settings and choose a standard automatic or compatible output option. Avoid selecting a resolution or refresh rate that the TV or intermediate equipment may not support. The available choices depend on the source device and Sony TV model, so do not rely on a specific setting name.
Game consoles and computers may also have separate settings for high dynamic range, variable refresh, color format, or enhanced HDMI features. If the screen goes blank after enabling one of these options, use the source device’s recovery or safe-display procedure to return to a basic output. Consult that device’s manual for the correct procedure rather than repeatedly changing TV settings.
Check Sony TV settings only after the basic tests
Once you have tested the cable, source, and HDMI port, review the TV’s HDMI-related settings. Some Sony models include options that change how an HDMI input handles higher-bandwidth signals or specialized features. The names and locations vary by model, software version, and region.
Change only one relevant setting at a time and test the picture after each change. Write down the original setting before changing it so you can undo the adjustment. If the HDMI input worked previously and no source equipment has changed, avoid changing several picture or system options at once.
It is also worth checking whether the TV has a pending system update, but do not interrupt an update once it begins. Update availability and installation steps vary by model. If the TV is connected to the internet, you can find broader connection guidance in our Wi-Fi and network troubleshooting guide, although an internet connection is not normally required for a basic HDMI signal.
Test the source on another TV or monitor
Connect the problem source and HDMI cable to another television or monitor. If it also shows no picture there, the source or cable is probably responsible. If it works elsewhere but fails on the Sony TV, the issue is more likely related to the Sony TV’s HDMI port, compatibility settings, or HDMI hardware.
When testing a computer, remember that the computer may have multiple display outputs and may not automatically activate the HDMI connection. Use the computer’s display controls to detect the TV or switch between display modes. On a laptop, a function-key shortcut may change the output, but the exact key depends on the computer model.
When a Sony TV reset may be appropriate
A factory reset should not be the first step for an HDMI problem. It removes saved settings, installed apps, account information, and other personal configuration, and the exact reset process varies by Sony model. Consider it only after trying a different cable, port, source, direct connection, and complete power cycle.
Before resetting, record the settings you may need to restore and make sure you know the passwords for streaming services and your home network. If only one HDMI port fails, a reset is unlikely to repair physical damage. A reset is more reasonable when several inputs behave strangely after a software or configuration change and the simpler tests have not helped.
Signs the HDMI port may need service
Contact Sony support or a qualified repair professional if multiple known-good cables and sources fail on one port, the port feels loose, the connector is visibly damaged, or the TV loses signal when the cable is moved gently. Stop testing if you smell burning, see a spark, or notice heat or damage around the port.
Before requesting service, note which HDMI ports you tested, which cables and source devices you used, and whether the source worked on another display. This information can make diagnosis faster. You can also browse the Sony TV troubleshooting section for related picture, audio, and input problems.
In most cases, the fastest path is to simplify the connection: use a known-good HDMI cable, connect the source directly to the Sony TV, select the matching input, and restart both devices. The result of that test usually identifies whether you need a different cable, a source-device setting change, another HDMI port, or professional help.
Comments
0No comments yet. Be the first to share a helpful note or question.
Leave a Comment
Your email address will not be published. Comments are reviewed before appearing on the site.